Whether it’s for industrial, automotive, or general engineering, inspecting the appearance of casting is essential for ensuring quality casting. Metal castings are used for a wide variety of applications, and it’s important to ensure that the castings are up to the specified mechanical requirements of the particular application.
This is because quality control is directly linked to the quality of the end product. When casting alloys are done properly, it can ensure that the casting’s mechanical properties meet the exact specifications of the customer.
Importance of Quality Assurance in Metal Castings
The appearance of the casting is one of the most important aspects of the manufacturing process. By following inspection methods, it is possible to detect any imperfections or surface irregularities that could potentially cause problems in the end product.
These could include cracking, porosity, inclusions, or contamination. If these casting defects are not detected early, they could cause the product to fail in service, leading to costly repairs, additional work for foundry workers, or replacements.
If any such invisible crevices are detected, they can be rectified before the product is shipped to the customer, saving time and money.
Metal Casting Inspection Methods for Quality Casting: Nondestructive Testing

Metal casting is a process of creating products from liquid metal and other raw materials. The inspection methods used to ensure quality casting vary depending on the type of metal being cast and the complexity of the cast part.
Using these methods, manufacturers can ensure that the cast parts they produce meet their quality requirements.
How Visual Inspection in Done
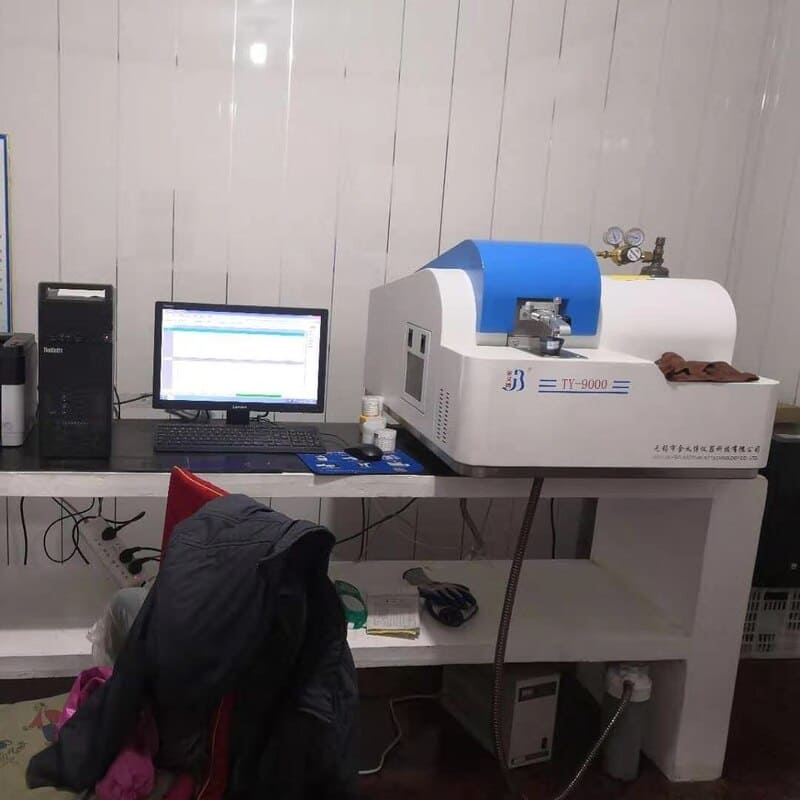
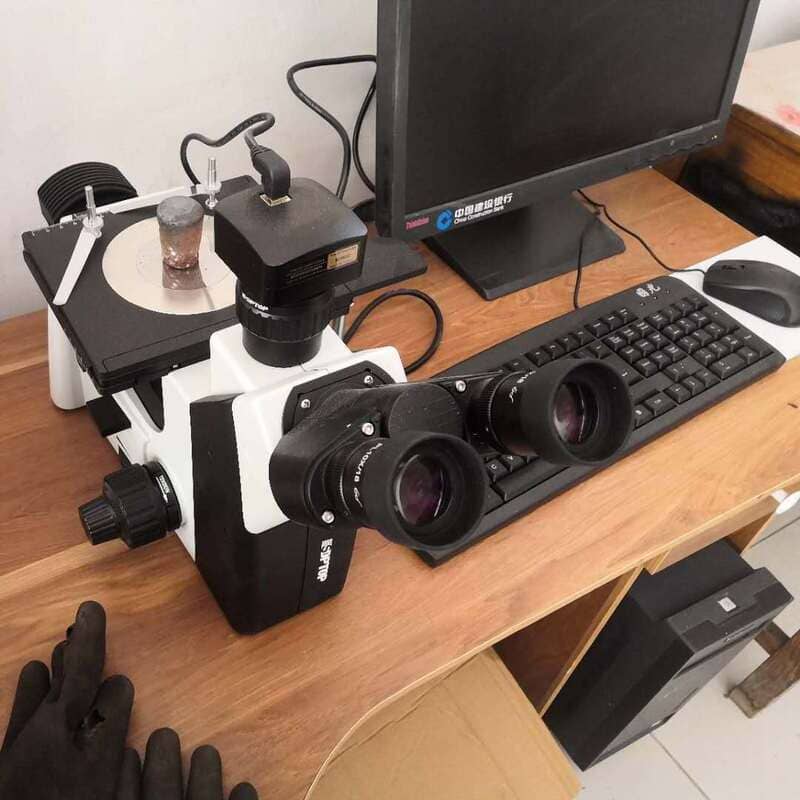
Visual inspection involves a close examination of the metal casting to identify any molding flaws or imperfections that may affect the performance of the part. During visual inspection, the inspector will check for surface defects, such as porosity, cracks, or inclusions. The inspector will also conduct a dimensional inspection, to ensure precise measurements.
While visual inspections alone are not enough to guarantee the quality of a metal casting, it is a crucial step in quality control and should never be overlooked.
Process of Ultrasonic Testing
Ultrasonic testing is a non-destructive method that works by sending sound waves into the metal part and then measuring the reflected casting soundness. The reflected waves can be analyzed to detect any changes in the metal, such as cracks, porosity, or other imperfections.
This includes cleaning the metal surface to remove any dirt or debris that may interfere with the sound waves. A transducer is attached to the part and a sound wave is sent through the metal.
The casting absorbs the sound waves, and any flaws or anomalies will cause the casting soundness to be reflected back to the transducer.
X-Ray Inspection Technique
X-ray inspection is non-destructive testing that can be used to inspect castings of any size or shape. The X-ray source can be stationary or mobile and the images can be viewed in real-time or recorded to be reviewed at a later time.
Radiography is the process of exposing the metal casting to an X-ray beam. The X-ray beam penetrates the casting and is recorded on a radiographic film or digitally. The image is then analyzed to detect any casting defects.
Image analysis is the process of analyzing the X-ray images to detect any flaws in the metal casting. The images are compared to a reference standard to identify any inconsistencies or hidden defects. The reference standards are typically set by the customer or the manufacturer.
Magnetic Particle Testing
One of the most popular methods of testing metal castings is Magnetic Particle Testing (MPT).
To perform an MPT inspection, the component is placed in a magnetic field. A magnetic powder is then applied to the surface of the component. The magnetic field causes the powder to be drawn to any discontinuities on the component, making them visible and thus providing evidence of flaws.
The non-destructive test is relatively fast and cost-effective and can be used to inspect both metallic and non-metallic inclusions. However, the process must be carried out by a skilled technician in order to ensure accuracy.
Metal Casting Inspection Methods for Quality Casting: Destructive Testing
The purpose of destructive testing is to identify any potential problems from the casting process that could lead to failure or damage during use. It is also used to evaluate the mechanical requirements of the material and its suitability for the intended use.
Destructive tests are used to determine the strength, hardness, ductility, and other mechanical properties of the material. It helps ensure the quality and safety of the final product by assessing the strength of the material and its ability to withstand the forces of use.
Service Load Testing
The purpose of service load testing is to evaluate the structural load capacity of a metal casting in a specific application. This involves subjecting a casting to a range of load conditions and measuring its performance in terms of strength, stiffness, and fatigue. The test may also involve measuring the deflection of the casting under proof load.
The results of the test will provide engineers with important information about the performance of the casting under load conditions. This information can be used to make any necessary design changes to ensure the casting is hydraulically tested and has enough wear resistance, especially for pressure-containing parts.
Tensile Testing
Tensile testing is a type of mechanical testing that measures the ultimate tensile strength and ductility of a metal casting. During a tensile test, a specimen of the metal casting is clamped in a testing machine, and the forces applied to it are measured.
The force is then compared to the yield strength of the casting material, which is the stress level at which the metal begins to deform permanently. The results of the test can provide valuable information about the strength, ductility, and overall performance of the casting.
Common Surface Irregularities Found in Surface Inspection

The surface inspection of a product is a key part of a casting operation, as it is the final step in ensuring that the product meets the visual acceptance standards.
Shrinkage Cavities
The most common cause of shrinkage cavities is the inadequate supply of molten metal to the mold during casting. This can be due to a number of factors, including high pouring temperatures, insufficient gating, or improper mold ventilation.
In some cases, the cavity itself may be too deep or have a complex shape, which can also prevent the molten metal from completely filling it.
Heat Cracking
Heat cracking is most commonly found on thicker, heavier castings and can be caused by incorrect cooling or heat treatment of the casting material. Improper gating can also contribute to this type of surface defect.
If this is found in a casting surface, it should be repaired. This can be done by welding the crack and grinding it to a smooth finish, or by filling the crack with a filler material. In some cases, the casting may need to be scrapped if the crack is too large or too deep.
Sand Inclusions
Sand inclusions are small pieces of sand that become trapped inside the cast metal during the process. They can vary in size, shape, and composition, but they all have the same effect – they weaken the cast metal. These surface defects are especially dangerous in critical components where the strength of the metal is associated with safety, such as in the automotive industry.
The inclusions may appear as small bumps or pits on the surface of the cast metal, and they can often be seen with the naked eye. In more severe cases, a magnifying glass may be required for a full inspection of other castings.
Surface Discontinuities
Surface discontinuities are imperfections on the casting finish that can range from minor surface blemishes to severe cracks or voids. Macro discontinuities are visible to the eye and can be easily detected during casting inspection.
Microscopic discontinuity is a hidden defect and requires the use of specialized tools for detection. These types of defects include cracks, inclusions, and laminations.
Cold Shuts
This type of defect is caused by a lack of fusion between two layers or a casting surface. Cold shuts can be identified by their characteristic appearance, which consists of a shallow, curved indentation along the surface of the casting.
A cold shut is caused when liquid metal is poured into a mold and the edges of the two surfaces fail to fuse properly. This is most commonly observed when pouring castings with thin walls, intricate details, or a special mold.


