

Metal casting is a process that has been used for centuries to create complex metal shapes and parts. Many innovations are already applied in this industry, especially in mold-making. Traditional ways can be time-consuming, expensive, and have limitations in terms of design flexibility.
Casting molds may now be made in a way that is both new and more practical thanks to the development of technologies known as additive manufacturing or 3D printing. 3D printed casting molds can be created in a matter of hours, which is important for certain materials that require specific mold properties.
Pattern Making Process
Creating Digital Design
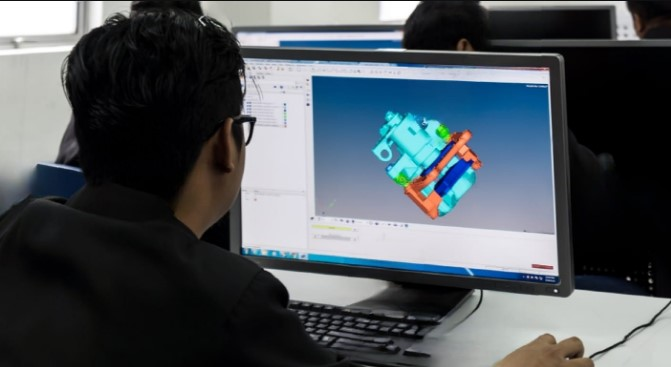
The first step in creating a digital design for a 3D printed mold cavity is to use computer-aided design (CAD) software to produce patterns of the cast parts. The CAD software allows for precise control over the design, including the ability to create complex geometries or multiple cores. Once the 3D master pattern is complete, it can be exported in a digital file format suitable for 3D printing.
Next, the master pattern or master model is imported into the slicing software, which converts the 3D model into a series of layers that the 3D printer can print. The slicing software also allows for adjustments to be made to the master model, such as the layer thickness and print orientation, to optimize the printing process.
3D Printing
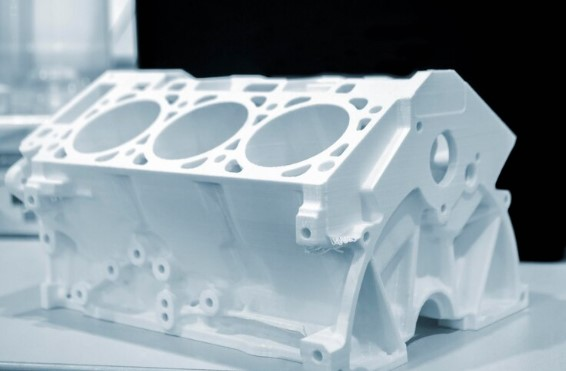
Once the master pattern has been sliced, it is ready to be printed using a 3D printer. The type of printer and material used will depend on the specific requirements of the mold. For example, some molds may require a high-temperature material such as ceramic, while others may be printed using a low-cost material such as plastic.
Post Processing of The 3D Printed Molds
The post-processing of the casting molds involves removing any support structures that were used during the printing process. These structures are typically printed alongside the mold to provide support for overhangs and other features that may be difficult to print.
Support structures can be removed by hand or using specialized tools, such as pliers or a wire cutter, to achieve the desired shape.
Once the support structures have been removed, the mold may require sanding or polishing to ensure that the surface is smooth and free of imperfections. This can be done manually using sandpaper or using specialized equipment, such as a sandblaster or polishing wheel.
Preparing The Mold Material for Casting Metal Parts
It is important to ensure that the mold is properly vented. Venting refers to the process of creating small channels or holes in the mold that allow air to escape during the casting process.
Without proper venting, trapped air can cause defects or voids in the finished metal part without proper venting. Venting can be done manually using a drill or other tools, or it can be incorporated into the design of the mold during the 3D printing process.
It is also essential to properly preheat the mold material before casting. This is needed for materials sensitive to temperature changes, as a sudden increase in temperature can cause cracking or other damage to the mold.
Preheating also helps to ensure that the metal flows smoothly into the mold and that the metal parts are free of defects. The exact temperature and duration of preheating will depend on the type of mold material and the metal casting applications.
How 3D Printed Molds are Used for Different Metal Casting Processes
Sand Casting
Once the 3D-printed pattern is ready, it is assembled into a sand-casting mold using traditional techniques. This involves packing sand around the sand mold to create a cavity for the molten metal. The mold cavity is filled with molten metal to create the casting part.
3D-printed sand molds can improve the sand casting process in a number of ways. Traditional sand-casting molds may not be able to accommodate the intricate forms and patterns achievable with 3D printing.
Hot Chamber Die Casting
Investment Casting or Lost Wax Casting
The CAD file is uploaded to the 3D printer, which creates the investment casting mold using a wax-like material. The printer lays down successive layers of the material until the final investment molds are formed.
Investment casting patterns are coated with a ceramic shell. By using a 3D printer to create the mold, the process of creating the wax or plastic pattern can be significantly streamlined. This can be especially beneficial in direct investment casting for creating parts with internal structures, undercuts, or other intricate features.
With 3D printing, the pattern can be produced on-demand, reducing the need for excess inventory.
Pewter Casting
Pewter is an alloy made up of tin, copper, and antimony, and it has been used for centuries to create various objects, including plates, cups, and figurines. Pewter casting involves melting pewter and pouring it into a mold to create a specific shape.
Traditionally, molds for pewter casting were made out of wood or plaster. However, these materials have limitations when creating complex shapes and intricate designs. 3D printing has made it possible to create more elaborate and detailed molds, which has opened up new possibilities for pewter casting, including silicone molds.
The mold is then coated with a release agent to prevent the pewter from sticking. Next, the pewter is melted and poured into the mold. Once the pewter has cooled and solidified, the mold is removed to reveal the final pewter object.
3D Printing Material Used for Casting Molds
Thermoplastics
Thermoplastics are a class of polymers widely used in various applications due to their ability to be molded into different shapes when heated and then cooled. This process can be repeated multiple times without degrading the material, making thermoplastics a popular choice for 3D printing.
Thermoplastics are known for their strength, durability, and ability to withstand high temperatures. They are also resistant to chemicals and abrasion, making them a popular choice for many industrial applications.
Photopolymers
Photopolymers are a class of materials that harden when exposed to ultraviolet light. They can be cured quickly, which allows for faster production times. Additionally, photopolymers are highly customizable, meaning that they can be tailored to meet the specific needs of a particular mold type.
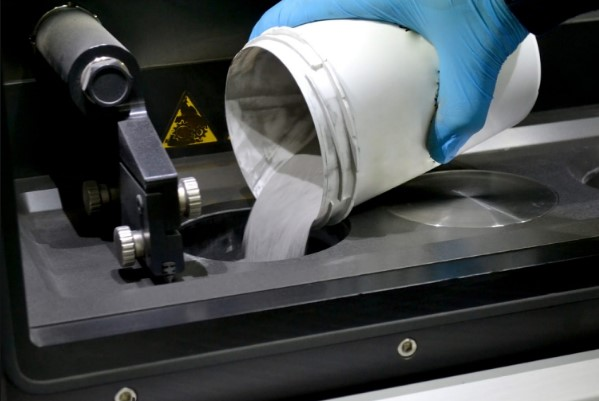
Metal Powders
Metal powders are tiny particles of metal often used to produce metal parts and components. Metal powders are commonly made using processes such as atomization, which involves melting metal and then spraying it into a fine mist that solidifies into tiny droplets.
The metal powder is heated to a temperature just below its melting point, causing it to fuse and form a solid object. This process is known as sintering.
Advantages of Using 3D Printing in Casting Molds

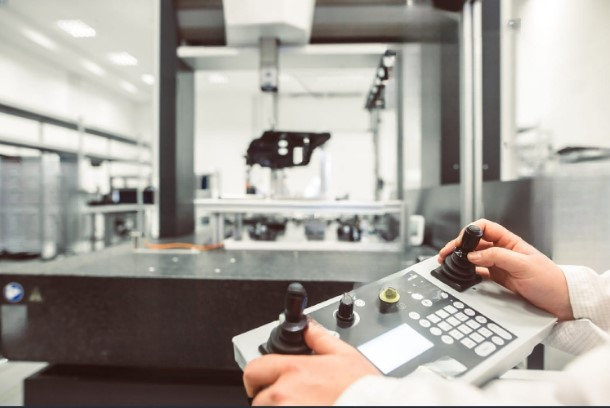
Increased Precision
3D printing allows for a high level of accuracy in creating molds. The computer-aided design (CAD) software used to create the 3D model allows for exact specifications to be defined, resulting in precise molds.
Creating complex and intricate shapes can be challenging and time-consuming with traditional casting methods. However, with 3D printing technology, precise and complex molds can be created easily and quickly.
Reduced Production Time
With traditional casting methods, the production process can be lengthy and time-consuming, involving several steps and the need for specialized equipment and skilled labor. 3D printing eliminates many of these time-consuming steps and enables faster production of molds.
The printer then creates the mold layer by layer without additional tooling or setup. This process eliminates the need for many time-consuming steps in traditional casting methods, such as pattern-making, tooling, and machining.
Challenges With 3D Printing Molds
Limited Material Selection
The material used in 3D printing molds must withstand high temperatures and pressure, as it will be used to create the final product through the casting process. Many materials used in 3D printing, such as PLA and ABS, are unsuitable as they may melt or deform under high temperatures or pressure.
In addition, some materials used in 3D printing, such as some types of resin, may not be able to withstand repeated use and may break down over time, limiting their usefulness in casting molds.
Design Constraints
The resolution of the 3D printer can also impact the design of the mold. The level of detail and complexity that can be achieved is limited by the printer’s resolution.
This may require support structures to achieve the desired level of detail, which can add additional complexity to the design process and increase the time required to produce the mold.
Rough Surface Finish
Most 3D printers create objects by depositing material layer by layer, and these layers can be visible on the object’s surface. This results in a rough texture that can be visible on the surface of the mold.
Some materials used in 3D printing, such as certain plastics or resins, can produce a rough surface finish. Other materials, like metals, may have a smoother finish but are generally more expensive.