X-ray inspection is a valuable tool in the manufacturing industry, especially when it comes to castings. This inspection method can determine surface and internal defects, measure wall thickness and ensure that the castings meet specifications.
Radiographic inspection is especially useful for inspecting castings that have complex geometries or difficult-to-reach areas. By carefully adjusting the x-ray tube and selecting the appropriate energy level, radiographers can ensure that the images produced are of the highest quality.
How Radiographic Inspection is Done
Radiographic testing is a non-destructive testing (NDT), which is effective for castings due to their complex shapes and internal structures.
This involves cleaning the casting surface of any dirt, debris, or other contaminants that could interfere with the inspection process. The casting is then placed between a source of X-ray and a detector, usually a photographic plate or radiographic film. The source and detector are placed on opposite sides of the casting to ensure the X-ray can pass through the entire material.
Once the exposure is complete, the technician will place the radiograph onto a lightbox and analyze the image. Any flaws or defects in the casting will be clearly visible in the film.
The technician will compare the film to the casting specifications. If any flaws or defects are identified, the technician will then decide how to address the issue. Depending on the severity of the defect, the technician may recommend further testing, modification, or replacement of the casting.
Determining The Defect Through X-Rays

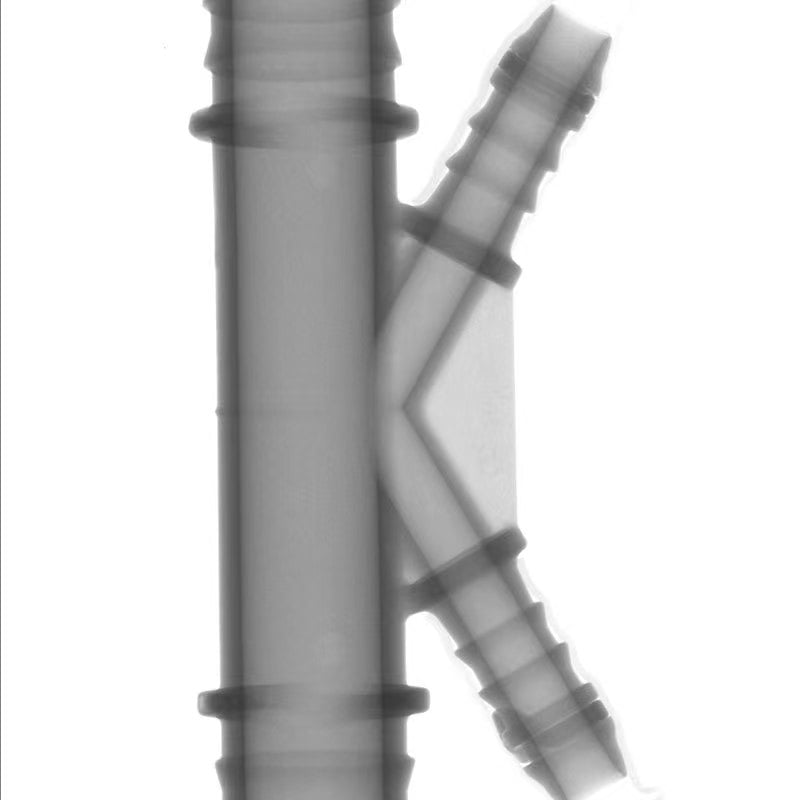
When analyzing the X-ray image, the analyst will identify any changes in the density of the material. X-ray images may include anything that is a lighter appearance or any dark area than the surrounding material. This can indicate a casting defect. The manufacturer can also look for any discontinuities in the material, such as cracks or slag.
The first thing to look for on the x-ray film is the contrast between the material and the x-ray. If the material is lighter in color, it will appear darker on the film. Conversely, if the material is darker in color, it will appear lighter on the film.
One of the main challenges in X-ray casting inspection is the ability to penetrate dense material. Dense materials, such as steel components and aluminum casting, are more difficult for the x-ray to penetrate. This means that flaws or anomalies may not be visible in the radiographic image.
X-ray casting inspection techniques have been developed to specifically target dense material. These techniques involve the use of high-energy x-ray, which are capable of penetrating thicker materials. X-ray testing is recommended for these types of metals since dense material withstands radiation penetration without having an effect on the casting.
In inspecting less dense materials, there are certain features to look for in the x-ray film in order to detect flaws or defects. One thing to look for in the image is forms of any shadows or shadows of objects behind the material. This can indicate the presence of a foreign object or a defect in the material. If an object is behind the material, it will cast a shadow on the film and can be used to identify the object.
Defects found in Metal Components
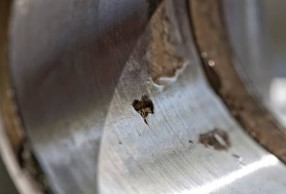
Porosity is a common casting defect that occurs when small, isolated pockets of air or gas form within the casting. In an x-ray film, porosity appears as a dark spot or void that is usually uniform in size and shape.
It is important to keep a permanent record of the porosity that is present in the casting. This can be done by taking additional radiographs of the casting after any attempts to reduce the porosity have been made. This will allow for an accurate record of the porosity present in the casting to be kept for future reference.
Shrinkage is another type of internal void that is caused by the metal cooling and shrinking faster than the mold can accommodate. It appears as an uneven distribution of material on the x-ray. The radiograph will be inspected for any areas where the x-ray image is darker than the surrounding area.
Inclusions are non-metallic particles that become embedded in the metal during the casting process. These can range from the creation of tiny particles of dirt or sand to large pieces of slag or flux. Inclusions will appear as dark spots on the films, which can then be further examined to determine their size, shape, and location.
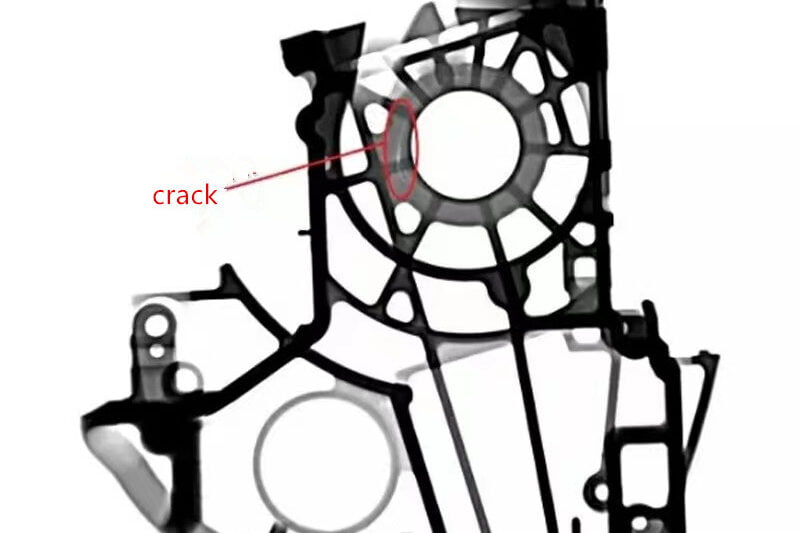
Another defect found in metal castings is cracking. This can be caused by improper welding, inadequate material selection, or inadequate heat treatment. Any cracks present will appear on the image as a dark line or shadow. This allows trained inspectors to quickly identify and measure the length and shape of the crack, allowing for more precise and accurate repair or replacement of the casting.
Benefits of X-Ray Imaging on Internal Structure of Metal Components
In addition to identifying flaws or defects in metal components, x-ray inspection can also be used to inspect welds, helping to ensure the integrity of components.
Discovery of Internal Defects

X-ray is used to detect potential flaws and defects in metal components that could not be identified with other conventional inspection techniques. It is capable of detecting internal defects such as cracks, voids, inclusions, and porosity. This is extremely useful for quality assurance, as it allows for the detection of potential problems before they lead to failure.
X-ray inspection can also be used to verify the state of welds. By inspecting the internal structure of the welds, potential flaws can be identified and potential failure points can be identified.
Improved Quality Control for Metal Casting

X-ray inspection offers an effective way to improve metal casting quality control. By providing a more detailed examination of the internal structure of metal components, it can help to ensure that the components produced meet the required specifications and are free of defects.
This can help to reduce costs associated with defective components, and it can also help to improve customer satisfaction by providing higher-quality components.
Faster Production and Release of Castings
X-ray inspection can detect flaws in castings quickly and accurately. This ensures that any problems are addressed quickly, without delaying the production process.
By identifying casting defects quickly, x-ray inspection can reduce the amount of waste produced. This is because any castings that are not up to standard can be identified and removed from the production line before they are finished.


